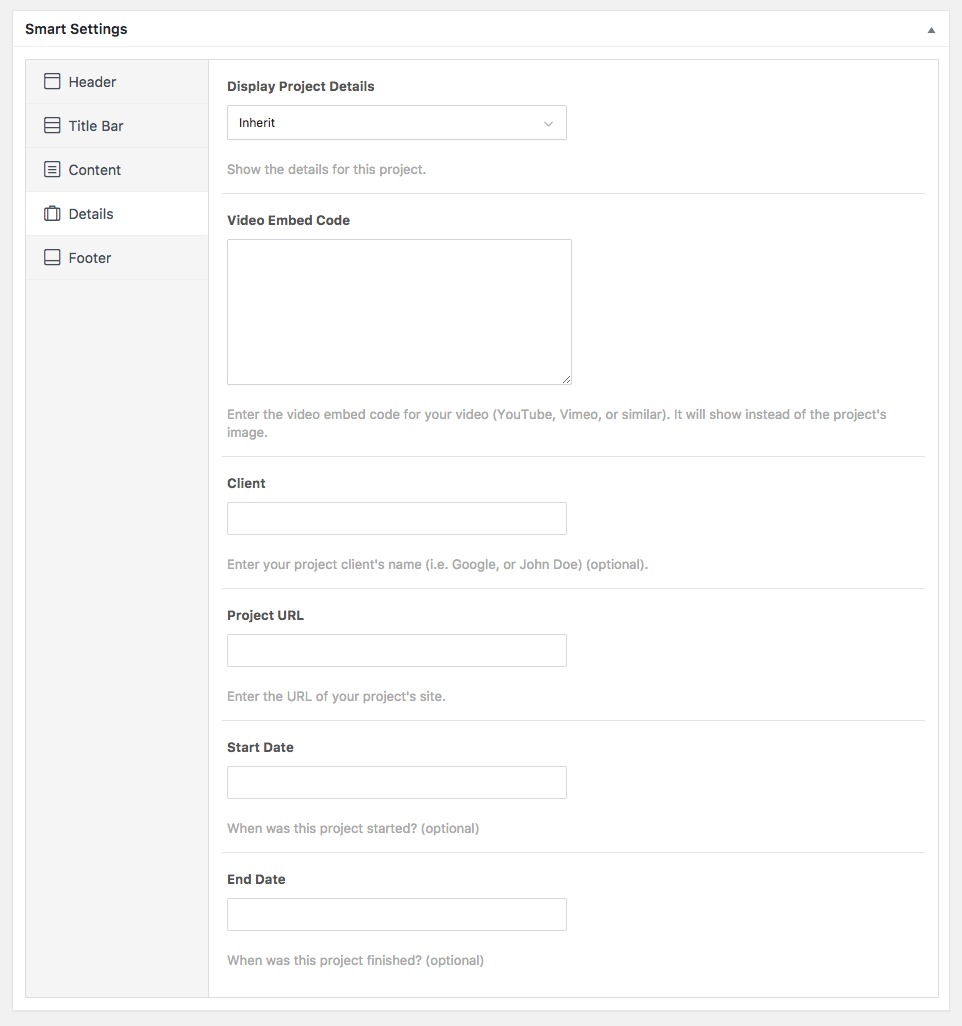
The portfolio details are located on the same block as the page/posts options are.
To create a Portfolio Project you must have installed and activated our “Nice Portfolio” Plugin. Our theme has a neat and simple plugin installer for the plugins we have integrations for. Nice Portfolio is not the exception.
Once the plugin is installed, you can create or edit Portfolio Projects. All you need to do is go to “Portfolio > Add New” in your WordPress admin dashboard.
So, when creating or editing a Portfolio Project, at the bottom (below the content box) of the admin page you will find the “Smart Options”.
These are mainly the same options that are in the general Theme Options, and they are available for that specific individual Portfolio Project you are currently adding or editing.
So, by changing these you will be only affecting that specific Portfolio Project.
When you set an option to “Inherit” or “Default”, it will be inheriting or having the default behaviour set in the Theme Options Panel.
There is a special group named “Details” in which you can set the different project details (i.e.: Display the Project details and its position, a video embed code, a client name, an URL, a start and end date.)
Options↑ Back to Top
There are 5 groups:
- Header: You will find all the Header & Navigation related Options.
- Title Bar: You will be able to customize the way the Title Bar Works for that specific page/post/portfolio.
- Content: Redefine the layout and the way the content looks.
- Details: Insert the specific details for that portfolio project.
- Footer: You will find all the Footer related options.


